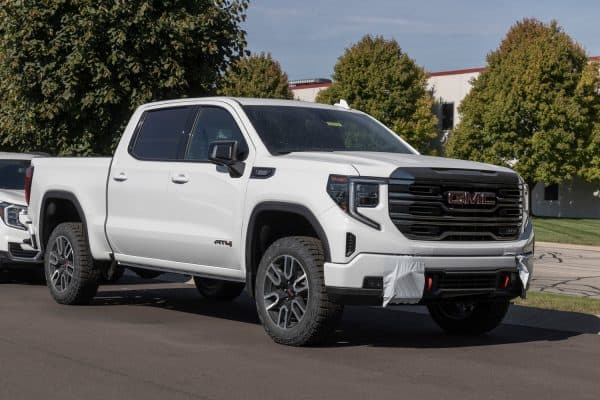
A truck battery dying while you’re outdoors can be a stressful experience. However, if you have a trailer plug, you can use it to charge your vehicle’s battery. We've researched how to do this for your convenience.
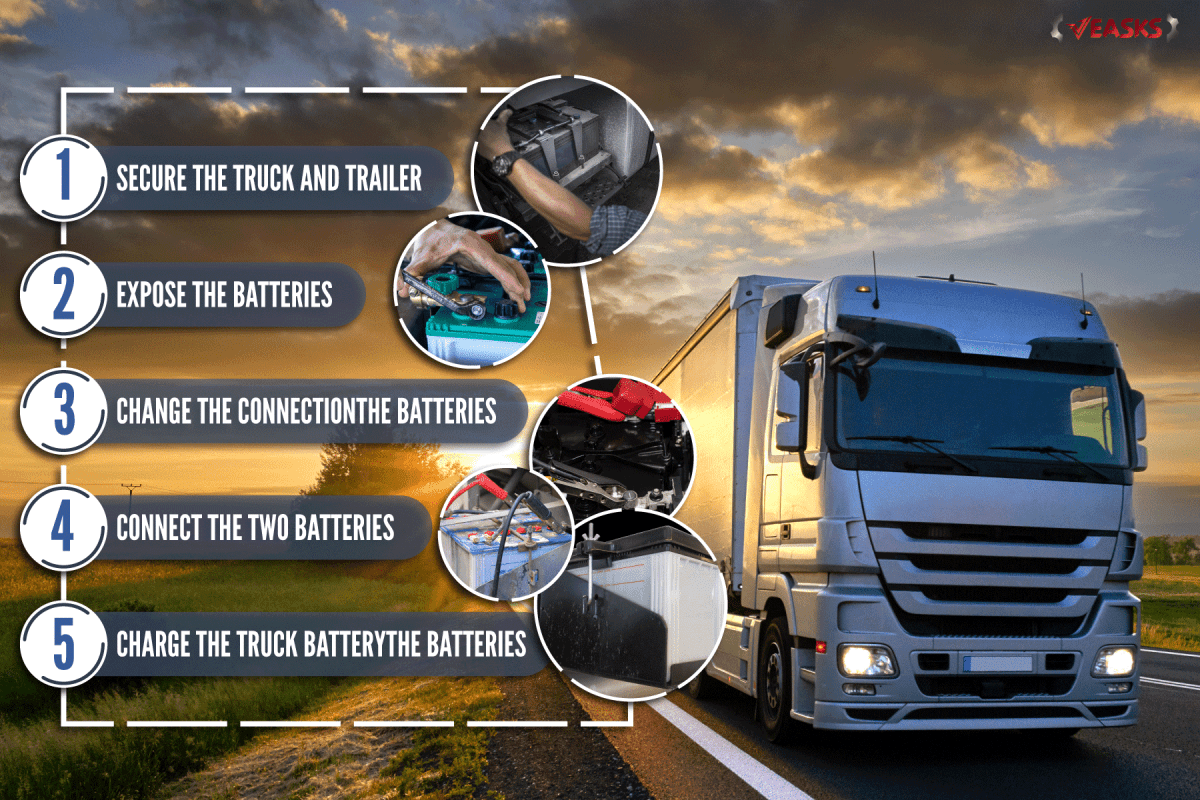
First, ensure proper safety to prevent accidents and injuries during the charging process. Then, gather the necessary items, such as a 7-pin plug, to secure the connection between the truck and trailer’s batteries. Once the preparations are complete, continue by following these steps:
- Secure the truck and trailer
- Expose the batteries
- Change the connection
- Connect the two batteries
- Charge the truck battery
Make sure to pay attention to certain details as you’re going through with this operation, and avoid making mistakes by reading through this post. Here, we’ll tackle the particulars you need to know to charge your truck’s battery properly while keeping the risks of accidents and injuries low.
Can You Charge A Truck Battery Through The Trailer Plug?
It’s normally not possible to charge a truck battery through a trailer plug without doing some modifications to the setup. This is because trailers generally have 4-way connectors while trucks have 7-way connectors.

DIY Instructions To Charge Truck Battery With A Trailer Plug
Make sure to complete the proper preparations before proceeding with this task. Remember, you’re working with electricity, which can be hazardous if mistreated.
So start this process by making sure you’re safe. Some of the preventive measures you should follow are:
- Wear a respirator or face mask. Toxic fumes may emanate from the truck’s battery while it’s charging.
- Never smoke near the charging station. Also, avoid bringing flammable objects near the charging site to eliminate the risks of unwanted combustions.
- Check the vehicle’s owner’s manual. You may find essential pieces of information that may help you with the charging process in that guide.
- Avoid bringing wet objects to the charging station. The dampness may react to the electricity, causing dangers like electrocutions, overloads, and short circuits.
- Make the charging location as clean and as tidy as possible. Avoid leaving your equipment and materials in your walking path as these objects may increase the risks of falls.
After ensuring your safety, the next step is to gather all the necessary items for this procedure. If you can't leave your truck behind, ask for help from another individual, such as a friend, family member, or automotive professional.
Things You’ll Need
Generally, you only need a few items for this procedure. These objects are:
- 7-pin connector
- 10-gauge wire
- Wheel chocks
You may need other tools to support you in completing this task. You may find these other pieces of equipment in your truck or trailer’s toolbox.
Once you have these items, you can proceed with this task by following these steps:
Step-By-Step Guide
Step #1: Secure The Truck And Trailer
Chock the wheels of the truck and trailer to prevent them from moving or rolling. If you don’t have immediate access to wheel chocks, search the area for reasonably large rocks. Then, wedge those rocks against the tires to prevent them from making unwanted movements. Don’t forget to engage the vehicles’ brakes.
Warning: Don’t use rocks with sharp edges. Otherwise, you might risk puncturing the tires.
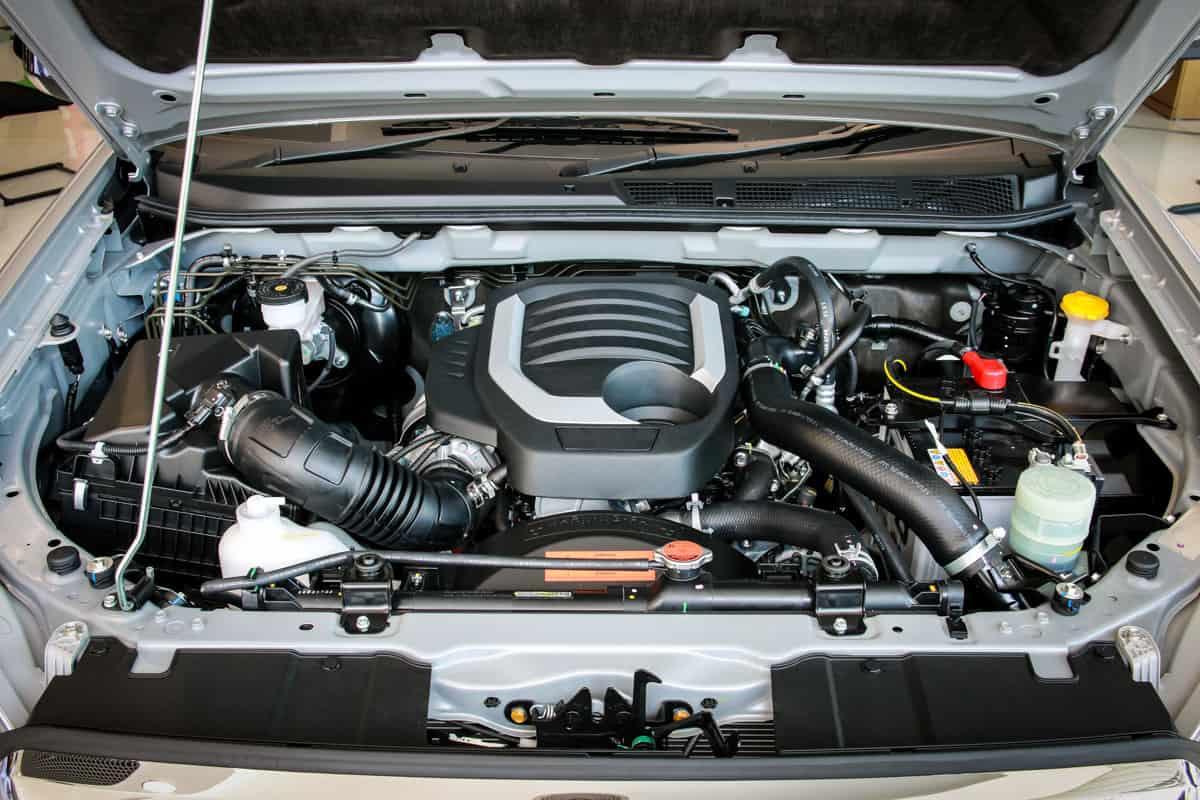
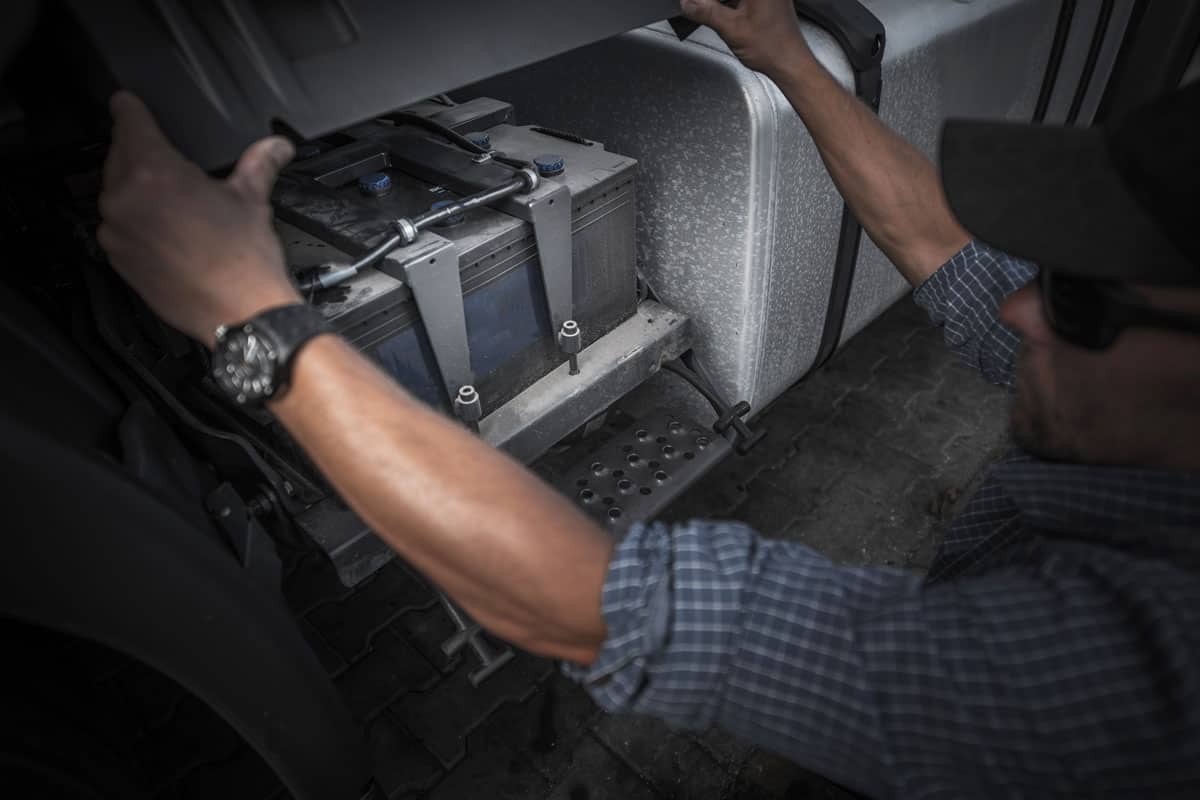
Step #2: Expose The Batteries
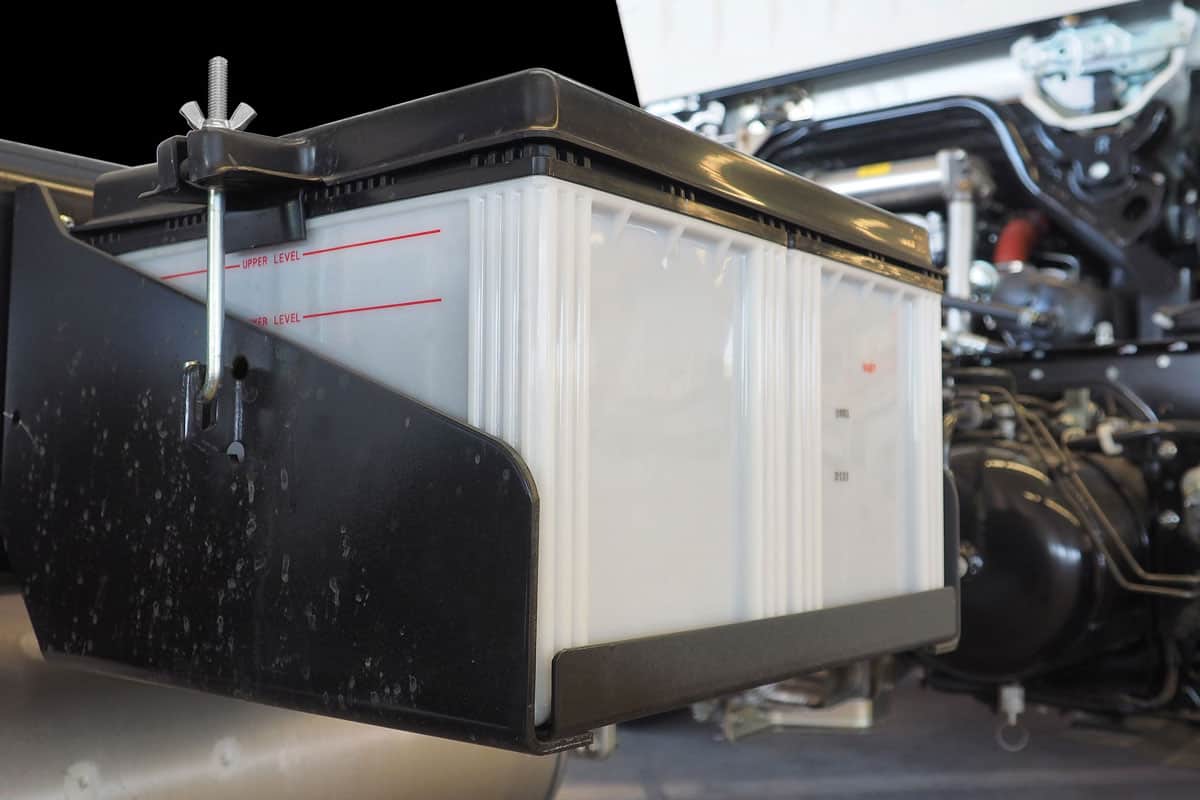
Open your truck’s hood to expose the battery. Then, find and open the container holding the other battery in the trailer. Check your trailer’s owner’s manual to search for its battery’s location as it often varies per trailer model.
Step #3: Change The Connection
Search and disconnect the 4-way connector on the trailer. Then, install the 7-pin connector while paying attention to the location of the wires. Here are some examples:
- White = ground
- Green = brake and right turn signal
- Yellow = brake and left turn signal
- Black = hot lead
- Blue = brake controller output
- Brown = Tail and running lights
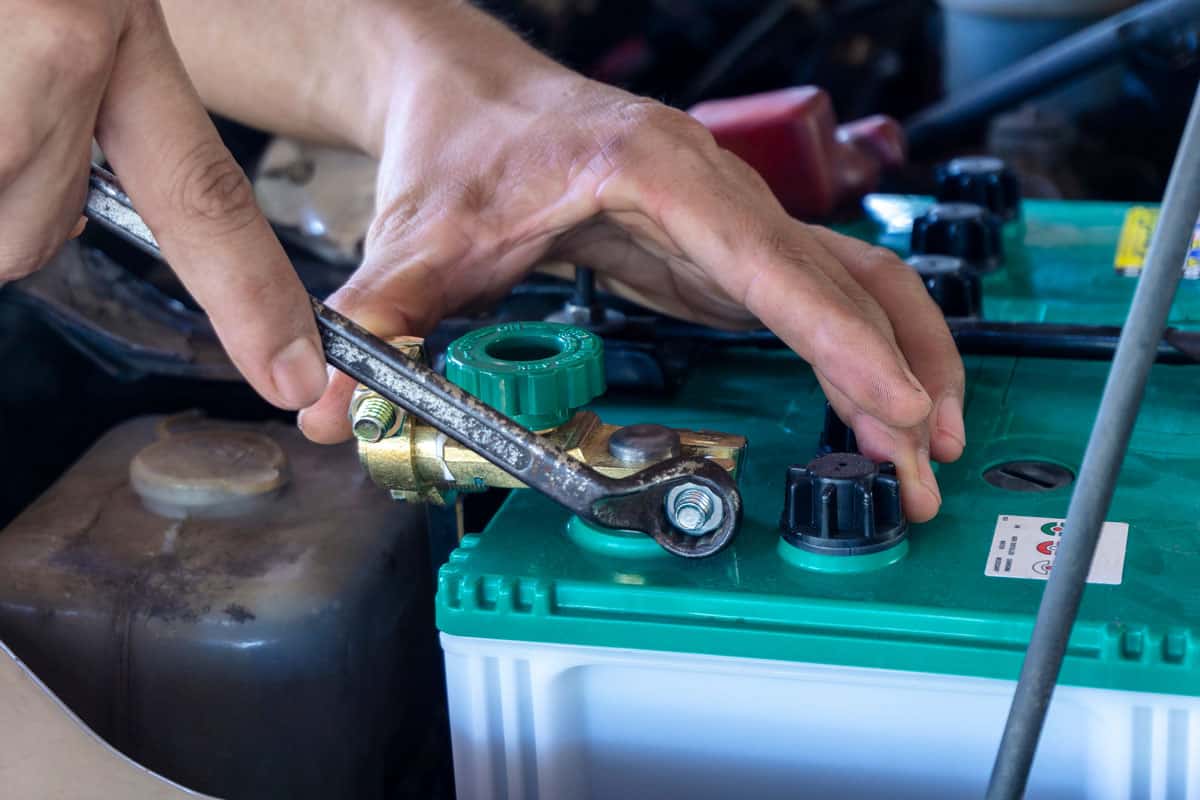
Step #4: Connect The Two Batteries
Attach the 10-gauge wire from the positive terminal on the truck’s battery to the 7-pin plug attached to the trailer. Then, place the truck battery's negative wire on a clean metal surface on the trailer to ground it.
Step #5: Charge The Truck Battery
If the connections are secure, turn on the truck’s engine, which should charge its battery from the trailer. Leave the truck running on idle for at least 1 hour before disconnecting the setup.
How Many Amps Does A 7-Pin Trailer Plug Draw?
Many 7-pin trailers can only draw up to a maximum of 5 amps. Bear in mind that the relatively small amount of power drawn might not be sufficient to power different electric devices in your vehicle. In context, here are some example power requirements of certain electronics in vehicles:
- Running lights: 7 to 10 amps
- Brake lights: 2 to 3 amps
- Turn signals: 2 to 3 amps
Are All 7-Pin Trailer Connectors Wired The Same?
Not all 7-pin trailer connectors have the same design. But most 7-pin connectors on the market are under two main design classifications: (1) those with flat blades and (2) those with round pins. Take note that the latter is generally rarer than the former.

![]()
Check out this 7-pin trailer adapter on Amazon.
Do I Need A Brake Controller If I Have A 7-Pin?
You need a brake controller for a 7-pin connection, particularly if you need to use a trailer’s electric brakes. Take note that not every tow-capable vehicle has built-in 7-pin connectors. If your vehicle doesn’t have this type of connection, it might be possible to add an aftermarket unit to it.
What Causes A Truck Battery To Not Charge?

If you followed the steps to charge your truck battery in this post, and it still doesn’t hold a charge, it might have an underlying issue. Some of the possible suspects that might prevent your truck battery from charging or holding a charge are:
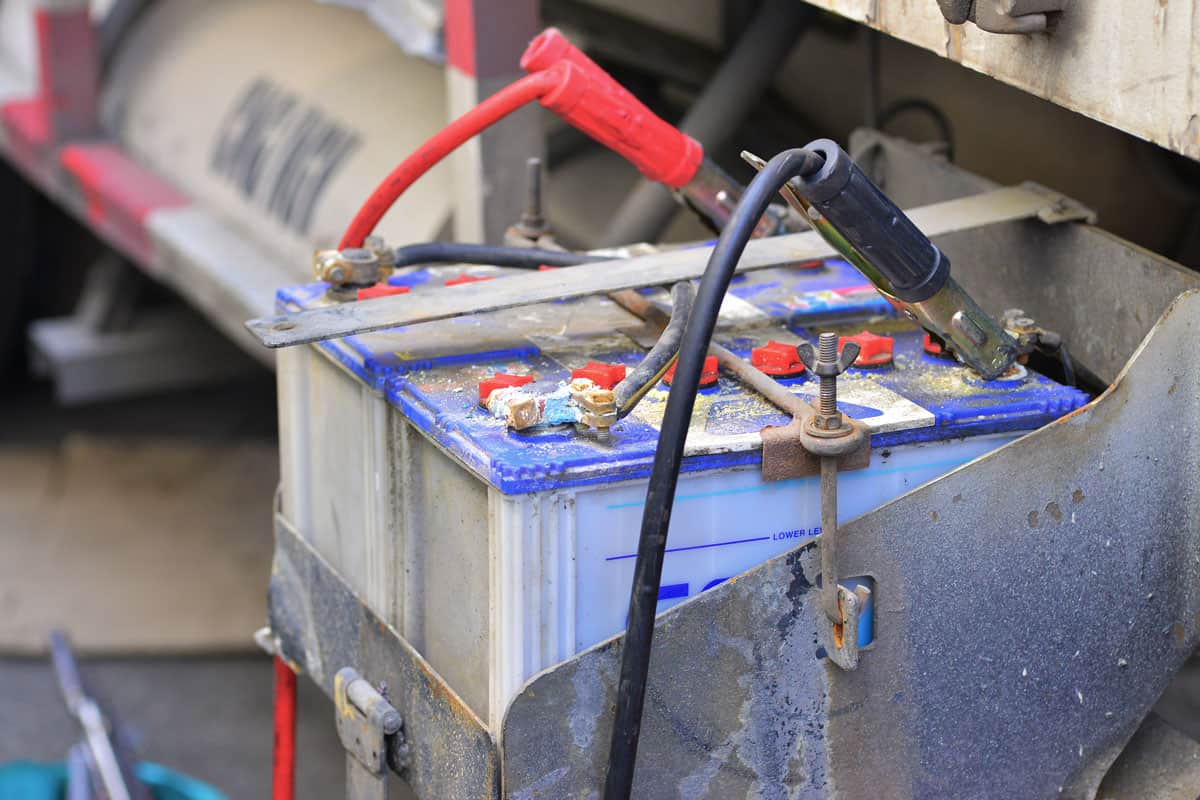
Worn Battery
Automotive batteries deteriorate over time, with typical models lasting about 3 to 4 years before they need replacing. The existence of corrosion on the truck’s battery can be a good sign that you need to replace it.

![]()
Check out this product on Amazon.
Faulty Alternator
An alternator is typically responsible for distributing electricity across the vehicle’s electronics while recharging the battery. It does this job by transforming the mechanical energy produced by different parts, particularly the serpentine belt and engine crankshaft, into electricity.
However, if the alternator goes bad, it can fail to provide the truck’s battery with sufficient charge. One sign that your alternator is to blame for this ordeal is when your truck only runs for a few minutes before turning off.
Bear in mind that replacing an alternator often requires a reasonable amount of automotive know-how. You can watch the video below to gain insight into this process:
Blown Fuse
A blown fuse may make the truck’s battery expend more energy than needed. If so, the battery might find it difficult to gain and hold a charge. Replacing the faulty fuse and recharging the battery may help restore the truck’s normal functions.
Final Thoughts

Charging your truck’s battery through a 7-pin trailer plug may look like a reasonably straightforward task. But going through this process haphazardly may invite expensive mistakes. So make sure to follow the instructions in this post to prevent those errors from happening.
If you’re looking for answers to other automotive battery-related concerns, check out these other great reads:
How Long Does A Factory Truck Battery Last?
Disconnected Battery Now Truck Won’t Start – Why And What To Do?

![Portrait of middle aged bearded truck driver standing by the truck and showing his commercial driver license. Focus on CDL license. Truck driving school and job openings, Do You Need A CDL To Drive A Box Truck [By State]](https://veasks.com/wp-content/uploads/2022/11/PORTRA1-600x400.jpg)