Are you having a problem activating the 4WD of your Chevy Silverado, and do you want to know what is causing it as well as what you can do about it? You’ve come to the right place, for we have researched this question, and we have the answer for you.
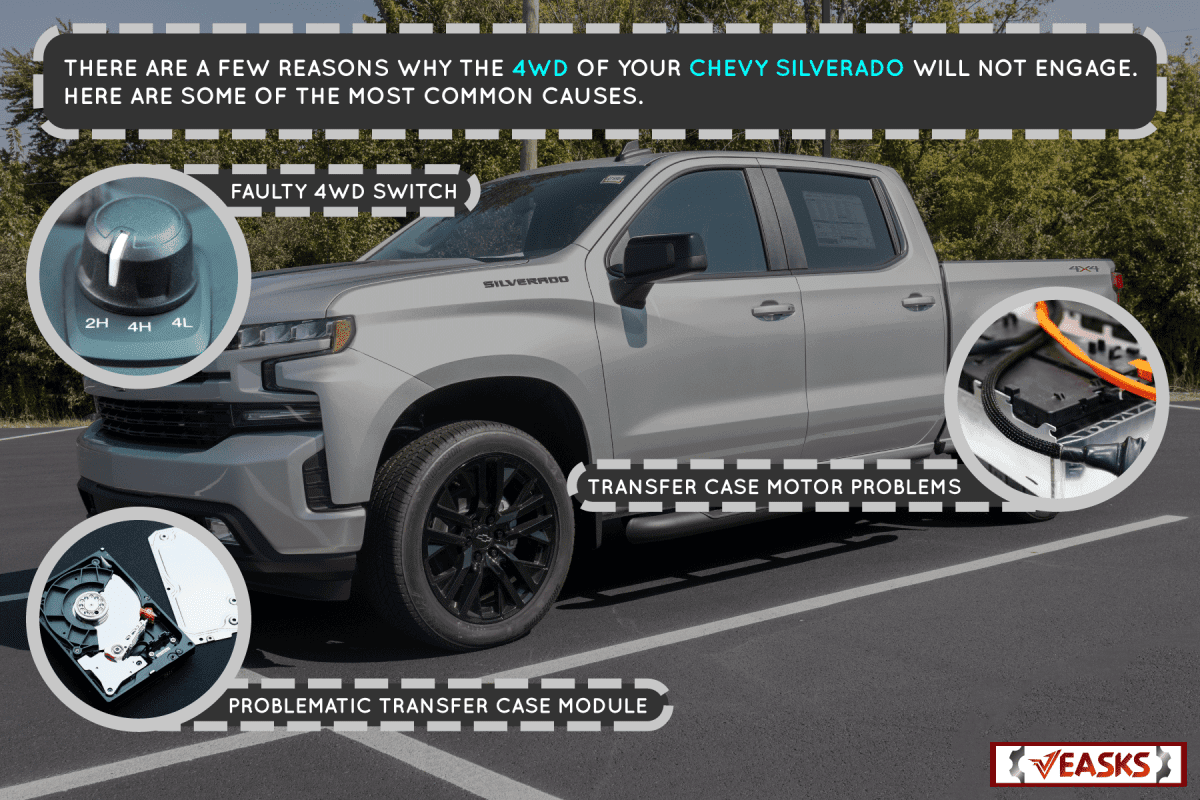
There are a few reasons why the 4WD of your Chevy Silverado will not engage. Here are some of the most common causes.
- Faulty 4WD switch
- Problematic transfer case module
- Transfer case motor problems
Learn more about each of these causes and what you can do to address them in the succeeding sections.
Read on!
What is 4WD?
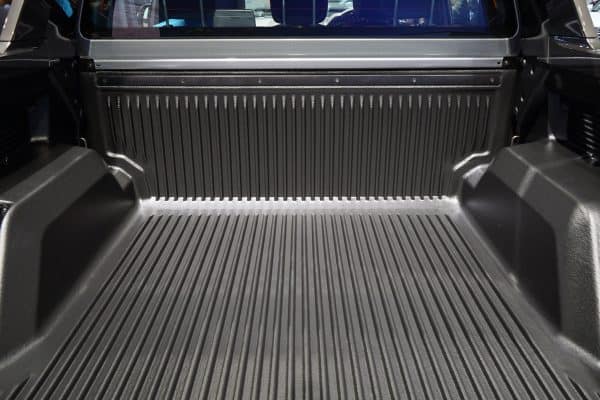
A 4WD vehicle, like your Chevy Silverado, works like an AWD. It sends torque to all four wheels to improve the traction of the wheels over slippery roads. However, unlike AWD, the driver must manually activate the 4WD system to benefit from it.
A 4WD vehicle has a differential for the front and rear axle as well as a center differential. It also has a transfer case that distributes power to all wheels.
The driver can decide to use a 4-Hi mode—a 4WD mode that is suitable for slippery road conditions—or a 4-Lo mode. The 4-Lo mode provides the highest level of traction, suitable for driving in challenging offroad conditions.

The 4WD system of GM can automatically engage the 4WD mode only if necessary. It will run in RWD most of the time and will activate 4WD automatically when it needs to.
Some 4WD variations give drivers the option to lock the differentials. This option provides even more traction for a lot more challenging offroad terrains.
How to identify a bad 4WD switch?
Unlike the AWD that is always on, a 4WD requires a system to turn it on and off. This is the purpose of the 4WD switch. It turns 4WD on, turns it off, and allows you to select from the two different modes of 4WD.
The common 4WD switch is an assembly that has buttons that you can push to activate either one of the two 4WD modes or revert back to RWD in your Silverado.
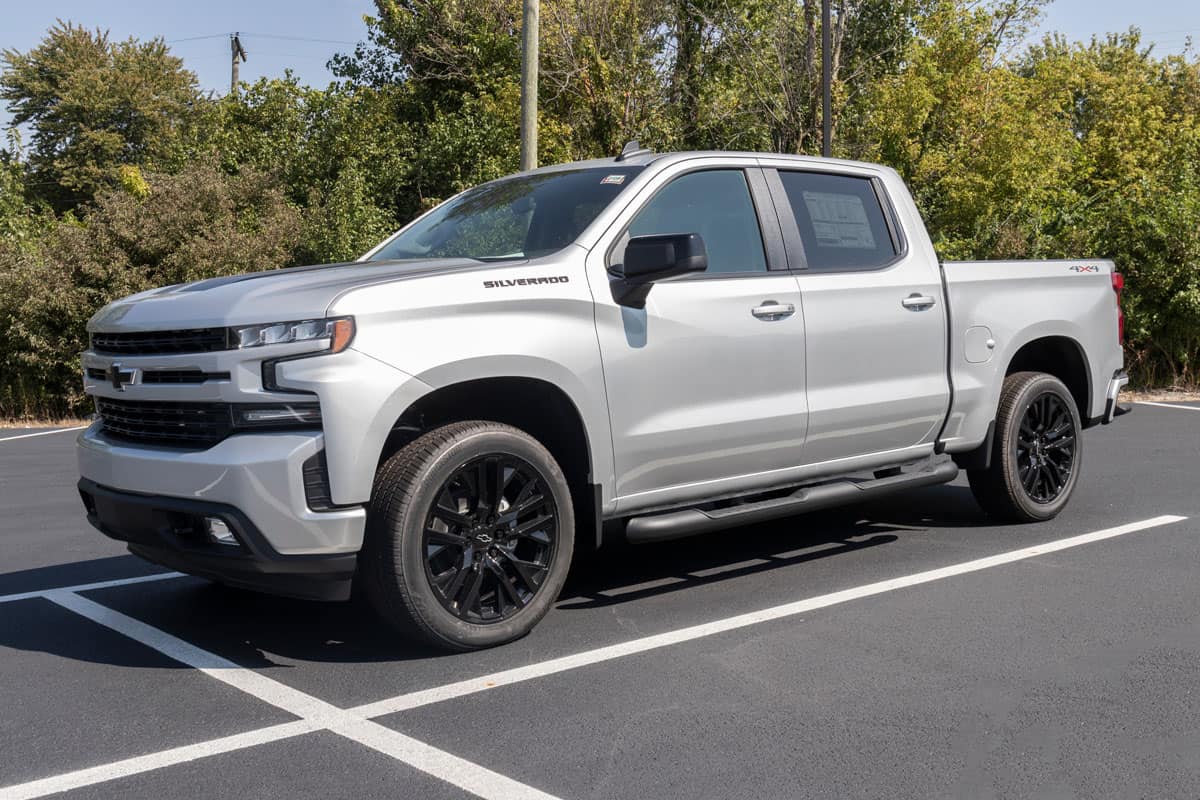
You can find the 4WD switch on your dashboard. Newer models have the switch on the left side of the steering wheel with a dial on top that allows you to choose from different driving modes. Older models have it on the right side, close to the center.
The switch sends a signal to the TCCM, telling it which 4WD mode to activate or to deactivate 4WD. And just like a regular switch, it can eventually fail, causing your 4WD to fail to engage.
If you need to press the button multiple times before the 4WD will engage, or your 4WD doesn’t stay activated, then you have a 4WD switch that you need to replace.
Replacing The 4WD Switch
Fortunately, it is relatively easy to replace the 4WD switch.
- Pry the old 4WD switch using a plastic trim removal tool.
- Disconnect the wire harnesses at the back.
- Plug the wires into the replacement switch and insert them into the same location.
- Test that the new switch is working.
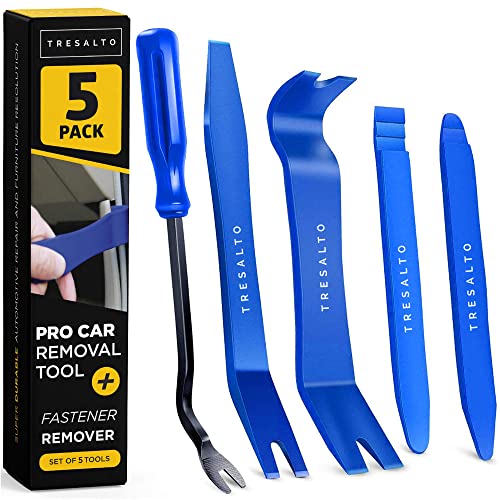
![]()
The Tresalto auto trim removal tool set is available on Amazon through this link.
How to fix a bad transfer case control module?
The transfer case control module, or the TCCM, receives the input from the 4WD switch. It will then determine if the shift to 4WD is possible.
There are conditions that your Silverado must meet to shift to 4WD. If shifting to 4WD is possible, then the TCCM will activate the transfer case motor to switch to 4WD. However, if shifting to 4WD is not possible, your Silverado will stay on RWD.
If the 4WD is still unresponsive after replacing the 4WD switch, then the TCCM could be faulty too.
One of the symptoms of a bad TCCM is the Check Engine warning light on your dashboard. Although the Check Engine light will turn on because of several different problems, if it turns on while you’re having issues with your 4WD, then a problem with TCCM could be the trigger.
The TCCM is also responsible for shifting your Silverado to the right gear when it is in “Drive (D).” If you don’t see the RPM (revolutions per minute) of your Silverado go down slightly as you accelerate, that means that it is no longer shifting into higher gears. This is another symptom of a bad TCCM.
Bad TCCM

There are two options for fixing a bad TCCM.
The first option is to replace it. The TCCM is buried under the dashboard of your Silverado, close to the steering column. You can reach it by removing the part of the dashboard that covers the bottom area of the steering column.
Replacing the TCCM is similar to replacing the 4WD switch. Unplug the wire harnesses from the back and then unclip them from your Silverado. Plug in the new TCCM and clip it back inside.
Unlike the switch, however, you will need to place your Silverado in Neutral gear, then disconnect the battery after replacing it. Wait for half an hour to an hour, then reconnect your battery.
This will reset the memory of the ECM (electronic control module) and the BCM (body control module). Resetting the memory will align the new module with the rest of the parts that make your 4WD work.
The second option is to send it to a repair company and they will repair it and then send it back. However, this route has a low chance of success. If the problem is with the hardware, then you will have the same problem after they repair the module.

![]()
Dorman 599-114 remanufactured TCCM is available on Amazon through this link.
How to diagnose a problematic transfer case motor?
The transfer case motor is responsible for shifting your Silverado from 2WD to 4WD. If it starts to fail, your 4WD will have difficulty engaging, or it may not engage at all. Another symptom of a problematic transfer case motor is a 4WD that will suddenly disengage.
Fortunately, it is fairly easy to replace because it is located outside the transfer case.
You can find the transfer case and the transfer case motor under your Silverado. There is a chance that might need to remove the driveshaft to get to the transfer case motor.
If you do not have the tools or don’t feel that you’re up to the task, bring your Silverado to a professional mechanic to verify the problem and replace the transfer case motor for you.
Otherwise, follow the steps below to replace your transfer case motor.
Replacing The Transfer Case Motor
The transfer case motor of your Silverado is often at the driver's side somewhere between the front and rear wheels.
Preparing Your Silverado
- Park your Silverado in an even and stable location.
- Place the truck on neutral and press the “2-Hi” and “4-Hi” buttons at the same time for ten seconds.
- Place wheel chocks and enable the parking brakes.
Getting To The Transfer Case Motor
- Remove the bolts that keep the transfer case motor skid plates in place.
- If the drive shaft is on the way, you will have to remove it.
- Mark the driveshaft so that you will know which it should go.
- Remove the clamp holding the driveshaft boot.
- Remove the bolts for the yoke retainer of the driveshaft.
- Wrap the bearing caps with masking tape so that they will not fall off.
- Disconnect the front driveshaft from the yoke.
Removing The Old Motor
- Remove the wire harness of the motor.
- Unscrew the old motor and remove it.
- Disconnect the old gasket from the old motor and clean it.
Installing The New Motor
- Reinstall the old gasket on the new motor.
- Clean the surface where you will install the new motor.
- The new motor is preset to be in “Neutral.” Thus, you need to check if the transfer case is in “Neutral” before you install the new motor.
- There is a notch that should point straight down if the transfer case is in neutral.
- If the notch is not facing downward, use a pair of pliers to turn it to face straight down.
- Reinstall the new motor.
- Reinstall the bolts. Tighten them starting from the top, then the bottom, and then the middle bolts.
- Reconnect the wires.
- If you had to remove the front driveshaft, grease the splines before you reinstall the driveshaft.
- Install a new driveshaft boot clamp.
- Reinstall the skid plate.
Conclusion
Check each of the possible reasons why your 4WD that is not engaging. Start checking from the simplest to the most complex. This will help eliminate the causes and fix the problem.
If you found this article interesting, why not check the two articles below too: