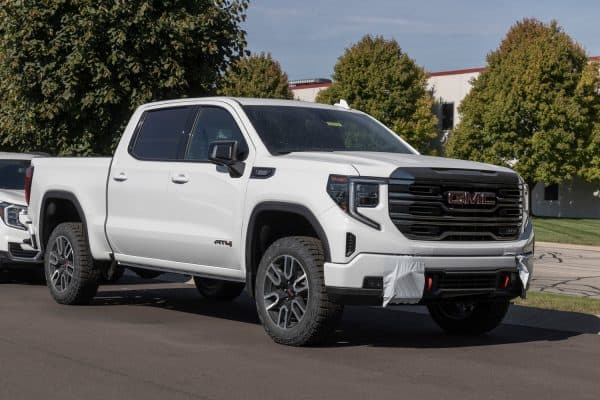
Did you change a flat tire on your GMC Sierra, and now you’re wondering how the jack and all the tools fit in your Sierra before? Wonder no more, for we have researched this question, and we have the answer for you.
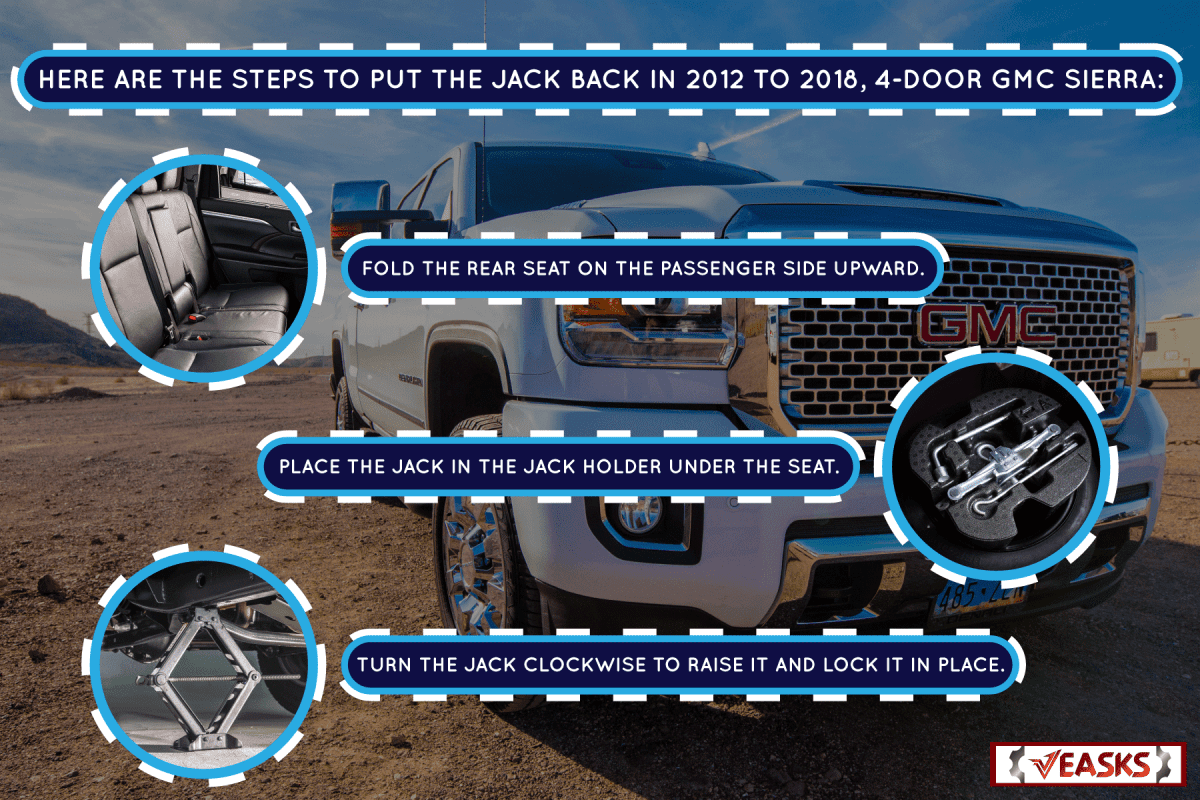
Here are the steps to put the jack back in 2012 to 2018, 4-door GMC Sierra:
- Fold the rear seat on the passenger side upward.
- Place the jack in the jack holder under the seat.
- Turn the jack clockwise to raise it and lock it in place.
Learn about the complete steps to put back the jack in your GMC Sierra, including the rest of the tools that you used in replacing your tire.
Read on!
Getting A Flat Tire
Getting a flat tire while driving your GMC Sierra down the road is an unpleasant and unpredictable experience. Fortunately, your truck comes with the tools that you need to replace a flat tire—including the jack to raise your truck.
Unfortunately, we sometimes forget how we removed the tools from our truck after we finish replacing the flat tire.
It is important to return the tools properly in their respective mounts or holders to prevent them from making any noise while you drive your truck—especially on rough roads.
How to put the spare tire back in a GMC Sierra?
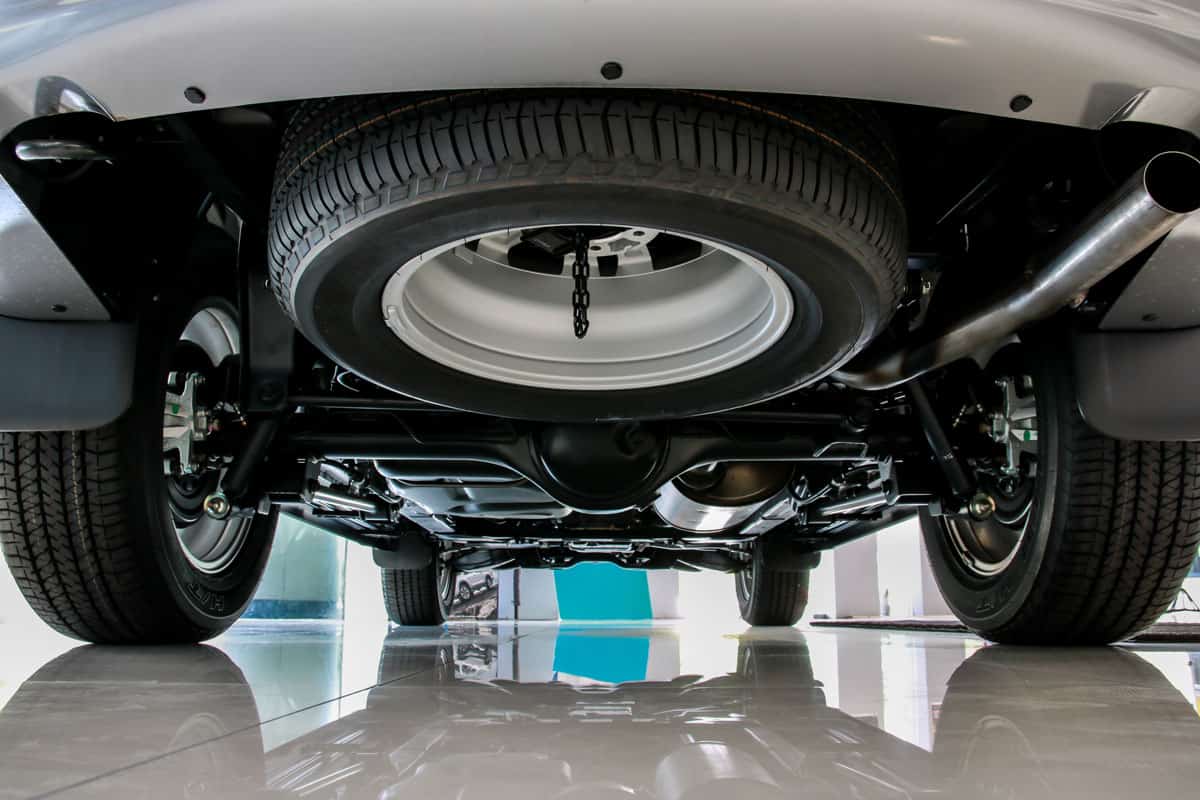
Once you finish changing your flat tire, you might decide to just place it on the bed until you get home and inflate it back to normal. Some people have a specific spare tire that they put back after inflating the flat tire back to normal pressure. Once all of that is done, you can return the spare tire to its usual place.
Here are the steps that you can follow for a 2012 to 2019 4-door GMC Sierra.
Putting Back The Spare Tire
- Twist the tire lock on the steel cable so that the wings will be in a vertical position. Slide the spring tip and the tire lock into the center hole of the spare tire.
- Get the two extension rods for the jack and slide one of the square ends into the end of the other extension rod that has the ball push lock. Push the two extension rods together until the ball push lock clicks into place.
- Slide the two extension rods into the hole next to the rear plate number. Slide it in at a slight angle towards the center until you feel it connect with a nut inside.
- Get the lug wrench and insert the opposite end of the extension rod into the square hole on the lug wrench. Make sure that the lug wrench end is pointing towards you. Push the square end until it locks into the square hole of the lug wrench.
- Turn the lug wrench clockwise until the spare tire is slightly floating off the ground.
- Double-check the tire lock and make sure that it is in the center of the hole for a snug fit.
- Continue to turn the lug wrench until the spare tire reaches its original position.
- Tighten the spare tire so that it will not vibrate and make noise while you drive your Sierra.
- Pull out the extension rods from the opening.
- Insert your key into the cylinder lock tumbler. Make sure that the locking mechanism is not out by turning your key.
- Insert the lock tumbler back into the opening and turn your key to lock it. The tumbler is a removable lock with a keyhole on one end.
- You might want to check the key tumbler or cylinder for rust before you put it back. If you see rust, spray some rust remover and let it dry.
- Spray some rust protectant on the lock tumbler.
- This will help prevent your lock from seizing up in the future and prevent you from accessing your spare tire.
- Close the protective cover.

![]()
Evapo-Rust rust remover is available on Amazon through this link.

![]()
WD-40 Specialist corrosion inhibitor is available on Amazon through this link.
How to put back the jack in a GMC Sierra?
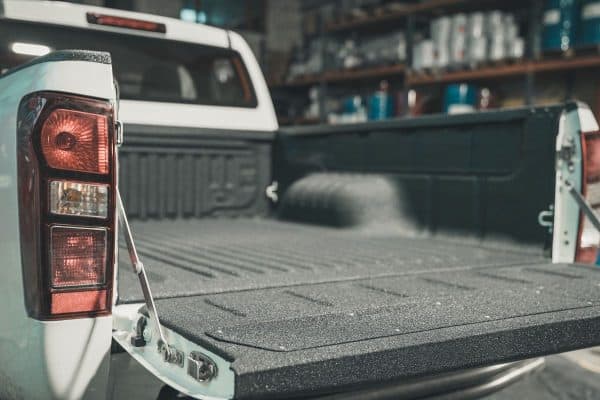
Once you have the spare tire back in its holder under the bed of your Sierra, the next thing you need to do is to put the jack and the chocks back. The jack and the chocks go under the backseat on the passenger side.
The jack holder will be located under the seat after you fold the seat up in GMC Sierra from 2014 to 2018. For 2019 Sierra to present, the jack holder is inside a shallow box-like compartment that will open once you raise the backseat.
Here are the steps to return the jack to your Sierra in detail.
Putting back the jack
- Lower the jack using the extension rods and the lug nut wrench.
- Line up the two chocks so that they are flat against each other. Chocks are sturdy wedge-like objects that you place under your wheels to prevent them from rolling.
- Place the J-hook over the cylindrical body of the jack. The screw tip should point to the opposite side of the plastic knob of the jack.
- Insert the screw tip of the J-hook into the hole on the chocks. Make sure that the bottom of the chocks lines up with the bottom of the jack.
- Insert the plastic wingnut into the screw tip of the J-hook.
- Carefully tighten the wingnut until the chocks are secure.
- Position the jack on the jack holder with the plastic knob pointing upwards for 2019 or newer models. The knob should face the front of your Sierra for models 2014 to 2018.
- Insert the two pins on the jack holder into the two holes at the base of the jack.
- Turn the plastic knob to extend the jack.
- Line up the jack so that the top will rest inside the circular indentation opposite the two pins.
- Once the top of the jack is inside the indentation, turn the plastic knob slowly until the jack is securely in place and no longer shakes or moves.
How to put the tools of your GMC Sierra back?
Once you have the jack and chocks back in their holder, the final step is to return the tools to their own holder.
- Raise the rear seat behind the driver’s seat. The tool holder is under the rear seat for the 2014 to 2018 GMC Sierra. It is inside a shallow box that opens when you raise the rear seat.
- Get the tool pouch and open the flap.
- Insert the two identical extension rods into the two pockets near the middle of the tool pouch.
- Get the extension rod with a hook end and insert it into the slightly bigger pocket on one end.
- The lug nut wrench goes to the bigger pocket at the back of the pouch. Its L-shape should fit into the shape of the pouch.
- Fold one side of the pouch lengthwise.
- Close the flap and line up the two Velcro pads to close the tool pouch.
- Slide the tool pouch into the hook holder.
- Insert the hole of the hook holder into the screw of the tool holder under the rear seat behind the driver’s seat. The opening of the hook should face the wall of the tool compartment.
- Insert the large plastic wingnut and turn it until the hook and the tool pouch are snug and don’t move or shake from their holder.
Final Steps
Reinsert the key for the spare tire into your fob. It is a good idea to clean the key a little before you reinsert it into your fob.
If your tires have a wheel lock, return the wheel lock nut to your glove compartment so that you will know where it is located if you need it again in the future.
Conclusion
The jack in recent models of the GMC Sierra can be returned in the same way. The mechanism is the same, and only the position of the jack holder changes in different models.
If you enjoyed reading this article, you might find the articles below equally enjoyable to read:
My Dodge Truck Keeps Honking Randomly—Why And What To Do?
Truck Floorboard Vibration—What Is Causing It And How To Fix It?