
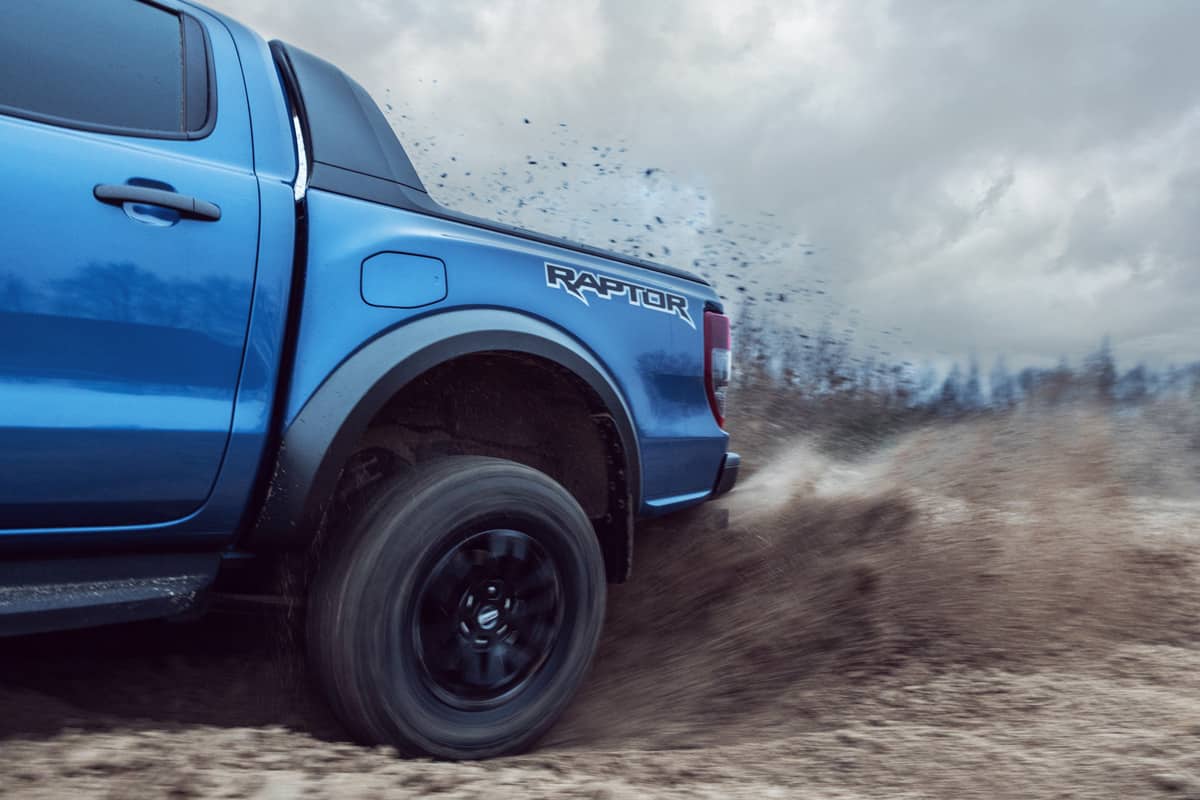
You could choose to change your Ford Ranger bed, especially if it's already damaged or depending on your preferences and tastes. However, you must first know how to remove the bed before replacing it. We have researched this topic and have discovered the top answers to this question.
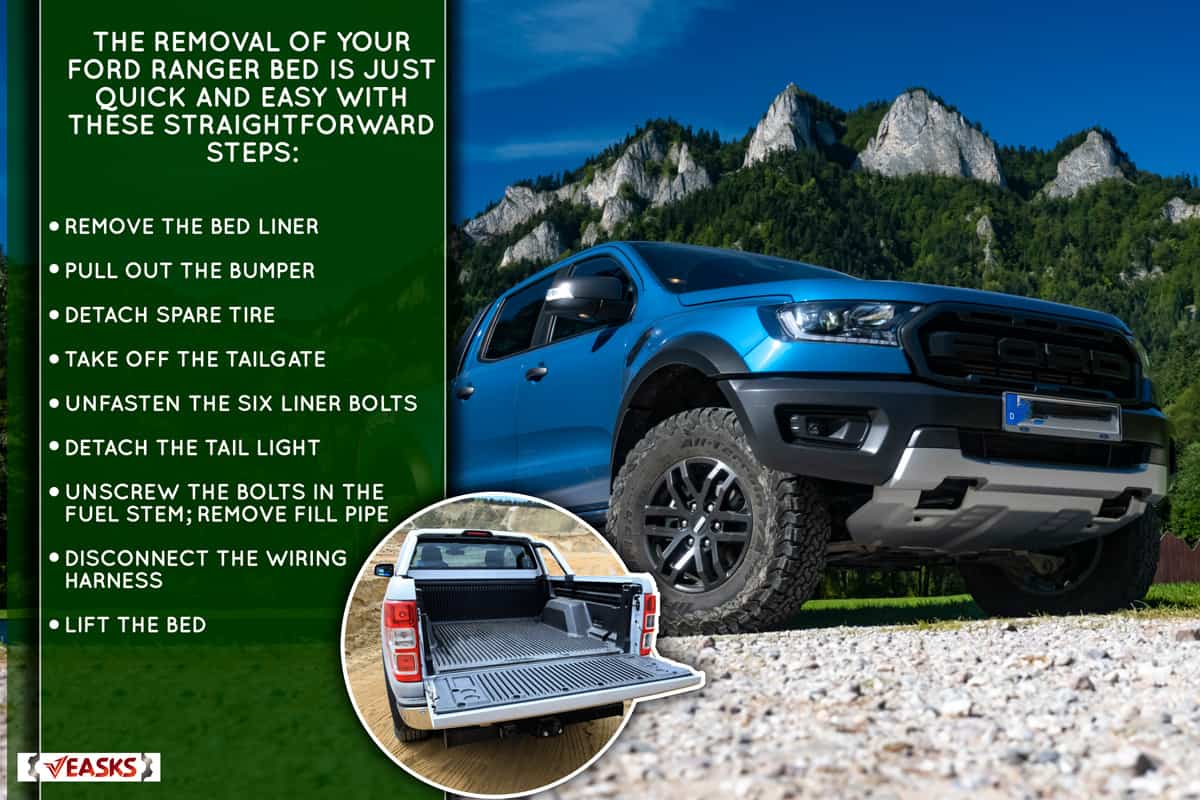
The removal of your Ford Ranger bed is just quick and easy with these straightforward steps:
- Remove the bed liner
- Pull out the bumper
- Detach spare tire
- Take off the tailgate
- Unfasten the six liner bolts
- Detach the tail light
- Unscrew the bolts in the fuel stem; remove fill pipe
- Disconnect the wiring harness
- Lift the bed
We will discuss how to remove the Ford Ranger bed, attach a new one, and if all Ford Rangers have the same size beds. Keep reading to learn more about Ford Ranger's truck bed options.
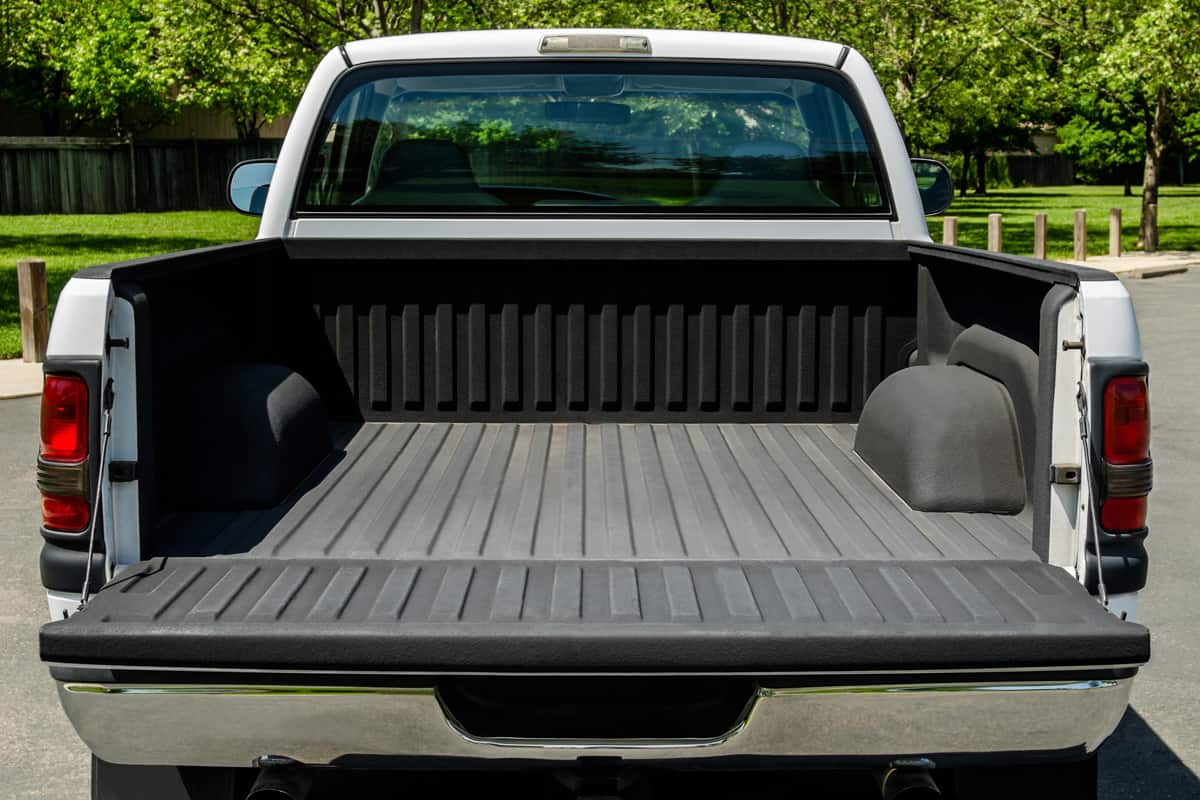
Removing Ford Ranger Bed
The bed of a Ford Ranger is designed to be aesthetically pleasing and seamless. How to remove the bed from a Ford Ranger is as follows:
1. Remove the Bed Liner
Your truck's bed liner shields the bed's finish from deterioration as you load and unload the freight. The texture of the bed liner keeps the cargo from sliding. Using a Phillip's head screwdriver, remove the clips from the bed liner. You can use a long bar to unhook both clips that grip the bed liner at the front.

![]()
Click here to see this Phillip screwdriver on Amazon.
After that, you can gently remove the bed liner.
2. Pull Out the Bumper
Two additional bolts make up the bumper. Use a socket wrench to detach them. If you still have trouble pulling them out, try using a pipe as a lever. Also, remove any hitches attached to the back of your vehicle using a 19mm socket wrench.

![]()
Click here to see this 19 mm socket wrench on Amazon.
3. Detach Spare Tire
Using a tire iron, remove your spare tire attached underneath your truck. Insert the tire iron in the bed's hole at the back of your vehicle and rotate it 180 degrees. Continue doing so until you entirely loosen the tire.

![]()
Click here to see this tire iron wrench on Amazon.
4. Take Off the Tailgate
A piece of metal is fastened to the edge of the bed by the cable on the sides. Lift the tailgate's metal piece on each end to remove the cable. Then, you can take the tailgate off with a gentle tug on both sides.
5. Unfasten the Six Liner Bolts
Clean and lubricate the bolts to make removal easier. Using a T-55 Torx head, Philip's head screwdriver, or an air tool, give a few slow twists while spraying WD-40 on the top and the underneath. You must take out these bolts to raise the bed.

![]()
Click here to see this T-55 Torx bit socket on Amazon.
Unfortunately, these bed bolts are always easily accessible from below. Before crawling underneath the truck to spray the bolts with WD-40, putting on some eye protection is a good idea. This lubricant will also make the threads cleaner.

![]()
Click here to see this WD-40 rust spray on Amazon.
WD-40 lubricant helps you avoid problems with rust, especially while removing it and on the threads and shanks of bolts, to prevent rust or any moisture that may be present there.
Also, you may whack your T55 Torx with a hammer before twisting it. This action will loosen it up. You can also insert it into a breaker bar or ratchet to release it completely.
Remember to avoid rushing since you could end up snapping nuts when you do. Another option to make the bolts come out much more quickly and without snapping is to clean the threads with a wire brush.

![]()
Click here to see this stainless steel wire brush on Amazon.
6. Detach the Tail Light
Remove the four bolts holding the tail lights by using an electric drill.

![]()
Click here to see this cordless electric drill on Amazon.
7. Unscrew the Bolts in the Fuel Stem
Take the gas cap off the fuel stem. Using a screwdriver or an impact wrench with an extension, unscrew the three bolts that make up the fuel system. This method will cut the pipe connecting your fuel fill to your bed.
8. Disconnect the Wiring Harness
Remove the vent tube from the bed's underside that leads to the back axle. Detach the wiring harness that is attached to the bed. You can leave them underneath after you unplug them.
9. Lift the Bed
You can use an engine hoist to pull up the bed, which can significantly simplify the process and ensure nothing is in the way before attempting to remove it. But because it's so lightweight, you and your friend can pull it up, considering each on opposite sides.
Be careful not to damage or harm the bed. Typically, the bed weighs 150 to 200 pounds.

![]()
Click here to see this engine hoist on Amazon.
How To Replace The Ford Ranger Bed?
Ford Ranger is capable of navigating any terrain and paved surface. However, driving on gravel roads can cause your Ford Ranger bed truck to wear out. Also, as time passes, there can be corrosion on your truck bed. Here are the steps on how to replace your Ford Ranger bed:
1. Clean the Frame
Use a compressor or air cannon to clean the area. This equipment has high pressure, making it easy to eliminate surface dirt and debris.
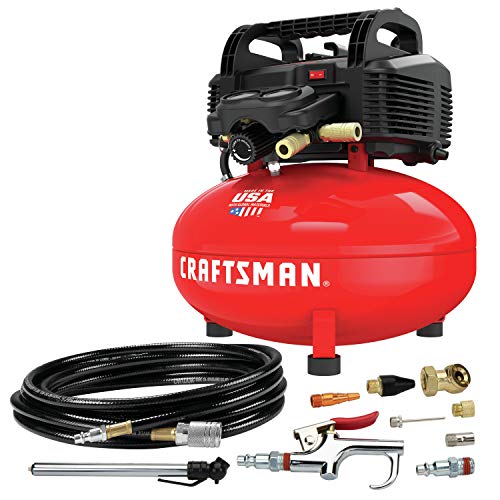
![]()
Click here to see this Craftsman air compressor on Amazon.
Clean the exposed threads using a wire brush. Be cautious of sparks if you are operating close to the gasoline tank.
2. Replace Damaged Parts
You could replace the suspension wires, shackles, and leaf spring hangers while the bed was apart. Also, examine the rear shocks for any damage or filling holes. If there is, change it right away.
3. Lubricate the Frame
After cleaning, cover the frame with an undercoating from a spray can. This procedure provides an additional layer of corrosion protection.
4. Remove the Screws and Bolts on the New Bed
As for the new bed, remove all its bolts and unscrew all its connections.
5. Dryfit the New Bed
Gently attach the new bed to your truck. Drill the holes required to fit the new bed into the vehicle.
6. Place the Screws and Bolts
Remove the front tires first to access the bottom bolts. Lock the bolts after reinstalling them in the bed.
7. Assemble the Gasoline Pump
The gasoline pump and fill neck are simple to access after you put up the bed. Using a screwdriver, place and screw the three bolts that make up the gasoline fill. You can close the gap cap after you lock all three bolts.
8. Attach the Wiring Harness
Attach your truck's wiring harness to the connector of your new bed.
Are All Ford Ranger Beds The Same Size?

One of the significant factors to consider when selecting the best truck for your needs is the bed size. The Ford Ranger bed comes in two sizes: a small bed and a long bed. The Ford Ranger truck bed is either five feet or six feet long.
Although not the largest bed available as pickups go, the Ranger's bed size options are more than adequate for the needs of most individuals. You can identify the payload capacity for your Ranger model/bed size printed on the sticker located on the driver's side door frame. This way, you won't overload your Ranger.
How Big Is The Bed Of A 1996 Ford Ranger?
The Ford Ranger's bed is roughly average in width, with a length of 72 inches. It is marginally wider than some other vehicles available on the market.
In Closing
So the Ford Ranger is an excellent alternative to consider if you're seeking a truck with a large bed. To remove the bed, unfasten the main wiring harness, the fill neck, and the bolts. Following that, you can easily remove the bed from the trunk.
Before you leave, we also have other exciting posts that might interest you:
Will A Ford Ranger Fit In My Garage?